OKD (OpenShift)
This page shows the 2 steps needed to get an LTO Network node up and running using OpenShift (Kubernetes) in this case the community open source distribution OKD.
So you decided you want to be part of the LTO Network, awesome!
A great way to be part of the community is by actively participating as a node in the network.
Make sure to check out the Prepare: Setup your wallet page before continuing. The node setup pages assume you utilize a 2-wallet setup for extra safety.
If you’re not an enterprise user you might not be familiar with Kubernetes or OpenShift. OpenShift is Red Hat’s enterprise Kubernetes distribution based on the community open source project called OKD. OpenShift is THE container application platform for many enterprises in the world.
This proof of concept, executed on OKD, shows the simplicity of deploying a new application onto the platform. After deployment we no longer have to worry about our node. The Kubernetes orchestrator will make sure it keeps running and if a new version of the container image becomes available the OKD platform will automatically pull the new image and perform a rolling upgrade of our running node. Secrets will make sure stuff like our seed, password and API_key are kept safe.
Step 1: Deploying your node on OKD using the browser interface
In this PoC I specifically used the browser interface to execute the steps. All of this can be done, if you’re familiar with the commands, in just a few steps from the command line. An extra advantage is that you would be able to automate these steps to make the process even simpler!
Of course you can try all of these steps yourself. An all-in-one OKD installation is available from the okd.io website. Instructions to get started are provided. It will take you no more than a few minutes to get up and running. You can simply run this on your Linux, MacOS, Windows laptop or workstation.
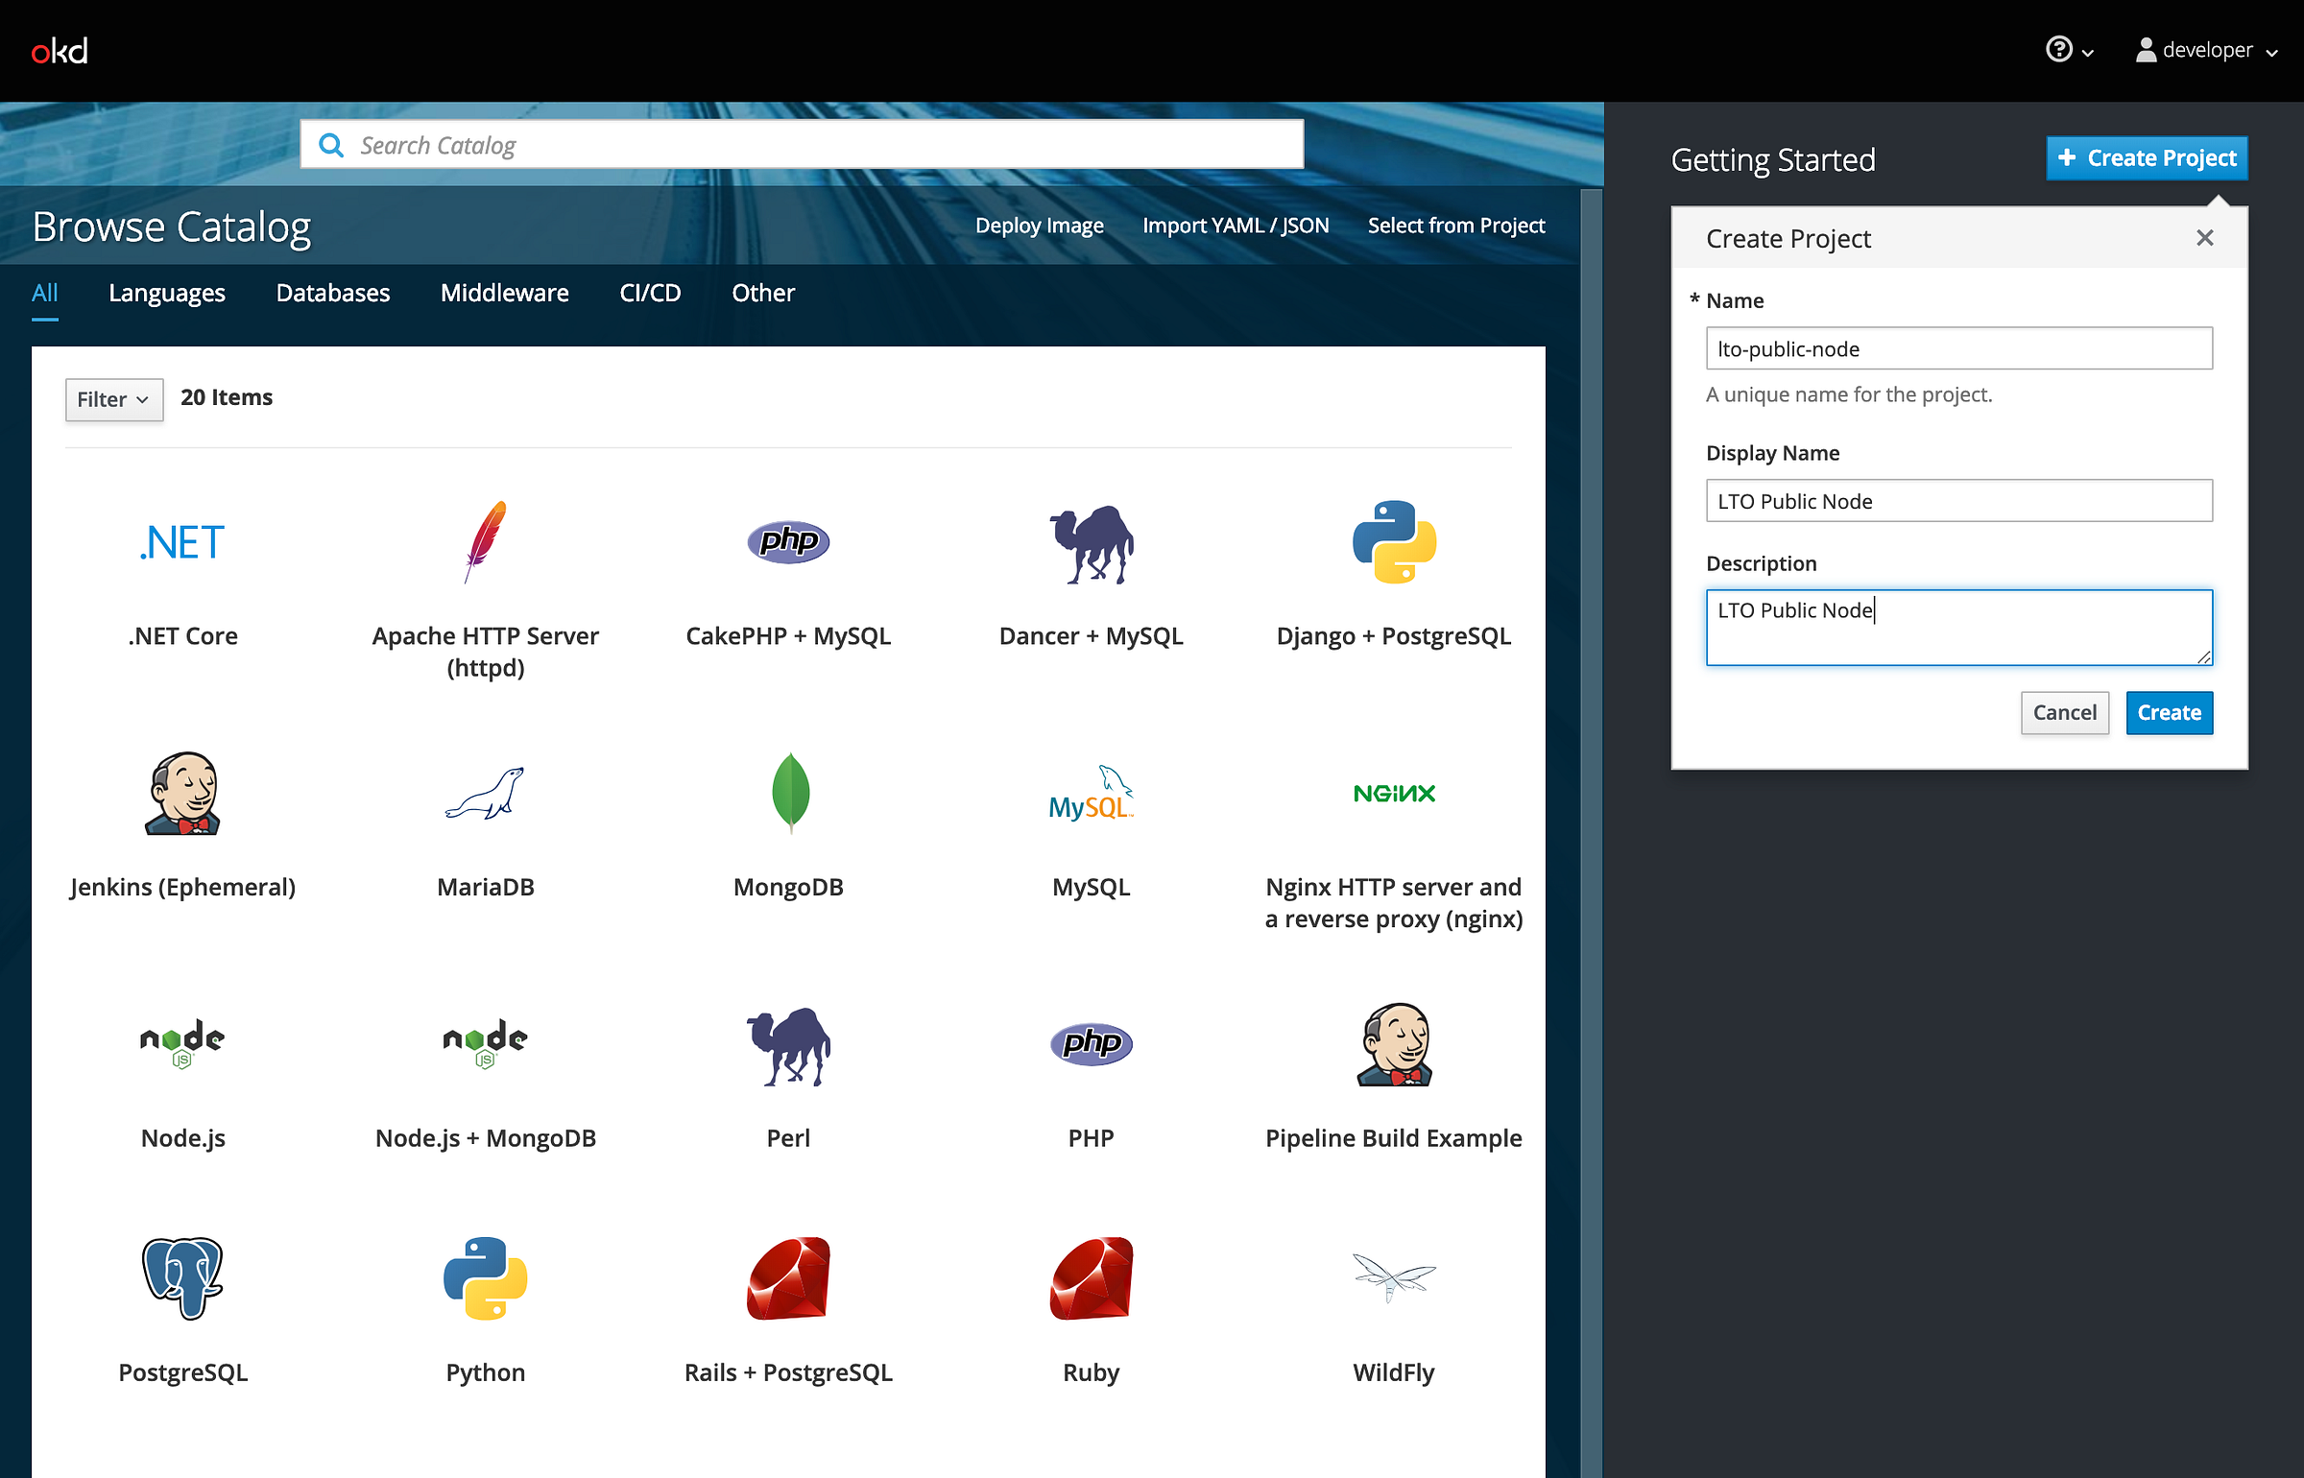
Before deploying our node on our OKD environment we create a project (Kubernetes namespace). A project is only visible to you or to users you give access to. Let's create a project called “lto-public-node”.
Immediately after creating a new project, you’re presented with a wizard presenting you with interesting options like Browse Catalog and Deploy Image. But before we go there we need to configure some important stuff to make sure our seed, password, and API key will stay safe.
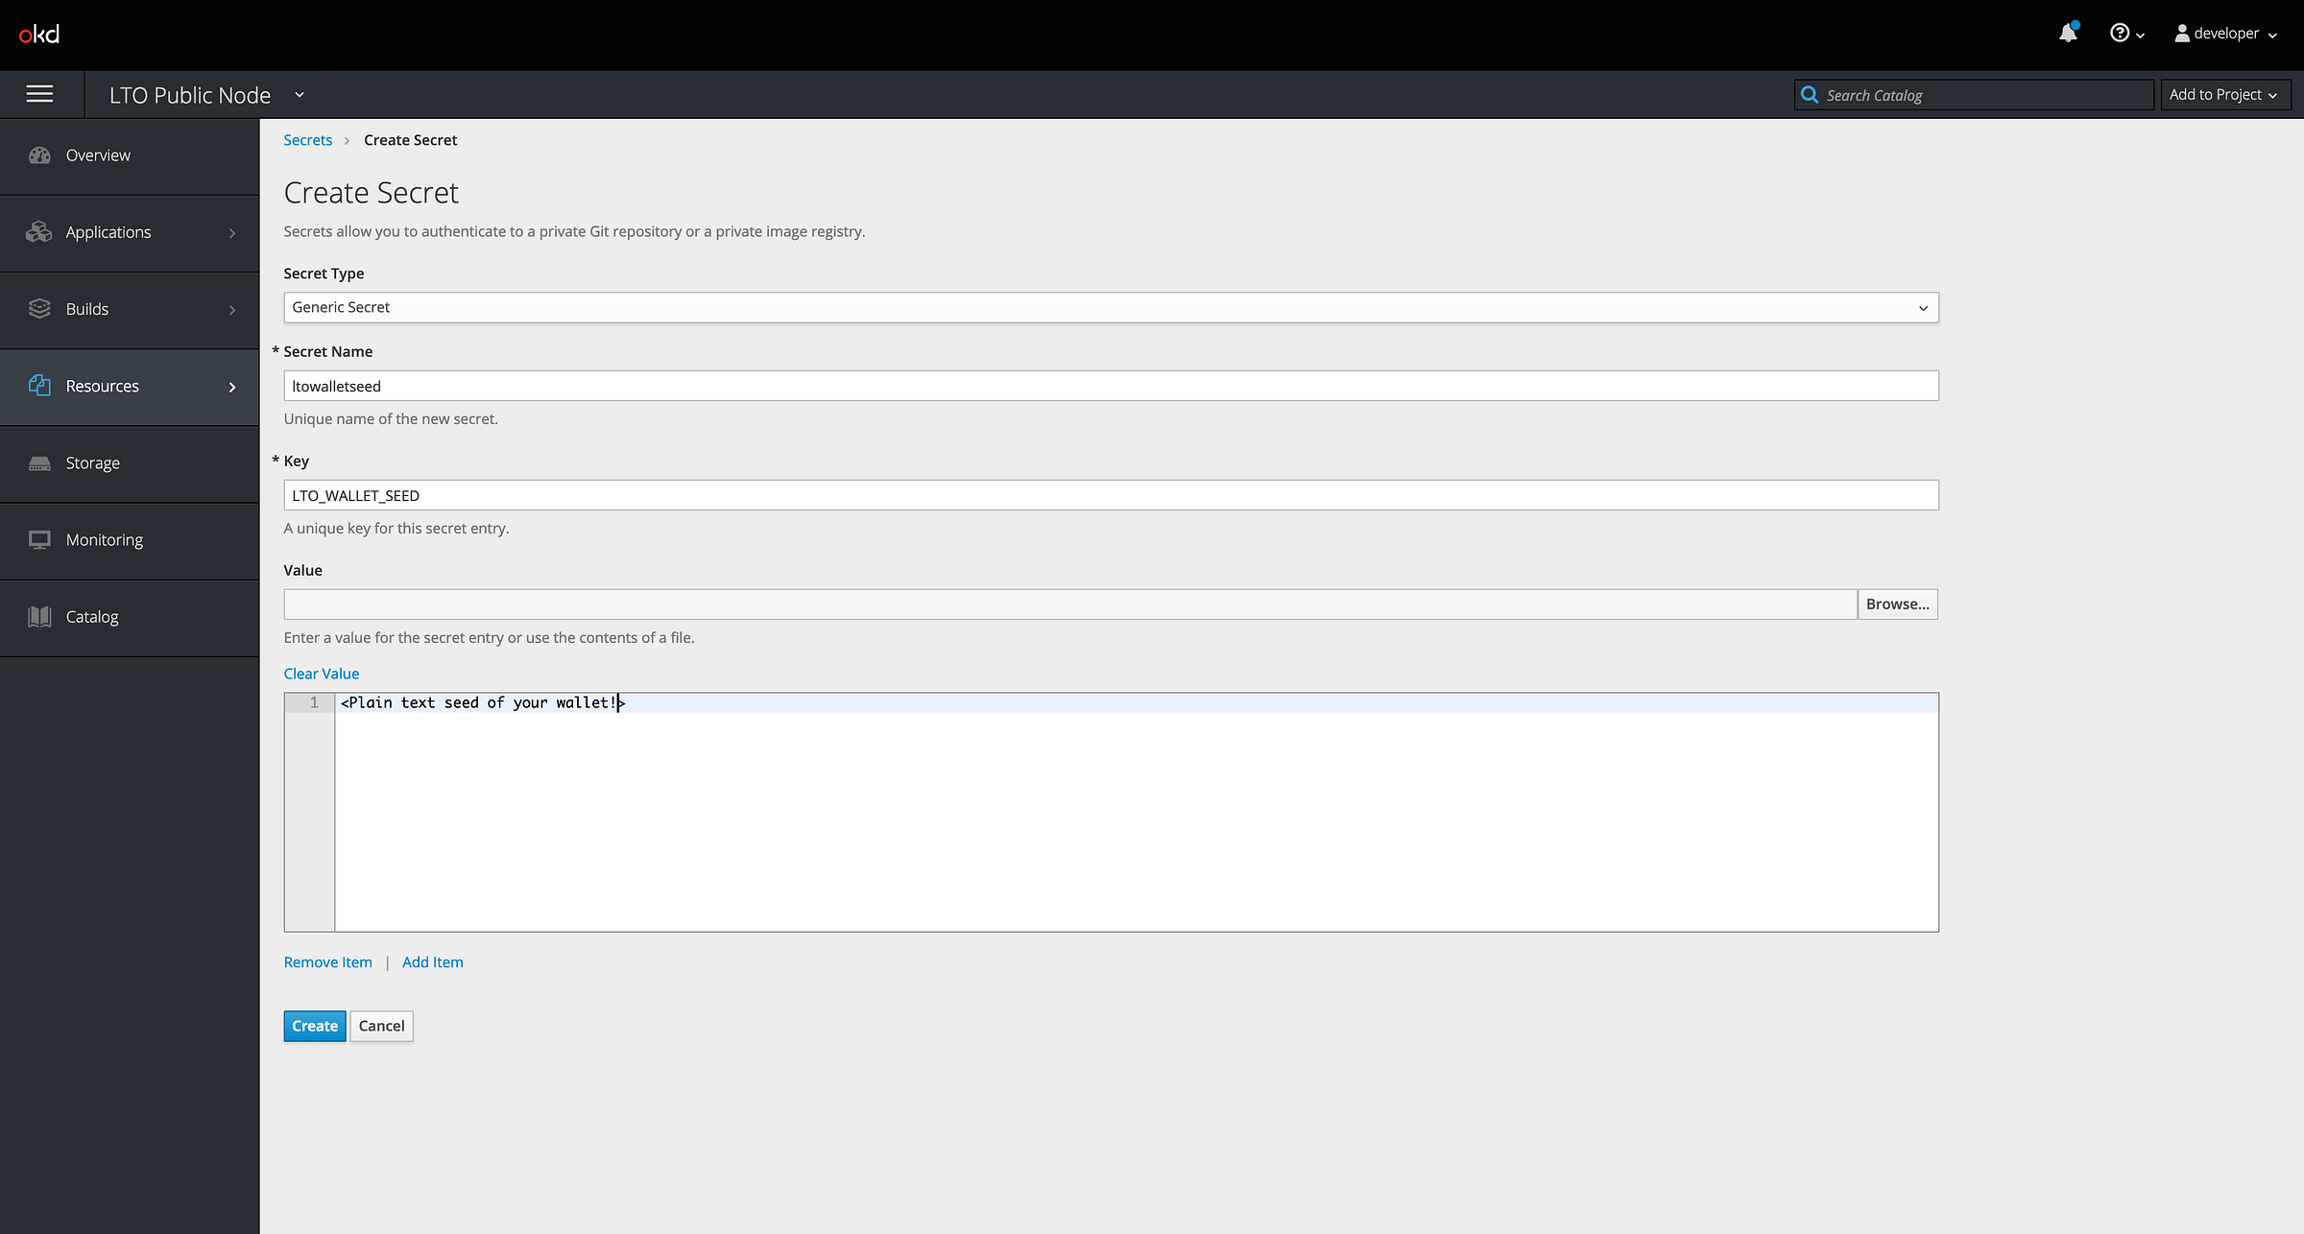
Select Resources → Secrets from the menu on the left. Now click Create Secret. We’ll be creating secrets for as many of the environment variables as you want but let’s focus on the essential ones first:
LTO_WALLET_SEED → The seed of the Staking wallet
LTO_PASSWORD → The password for the wallet file
LTO_API_KEY → Your key for admin access to your node’s API.
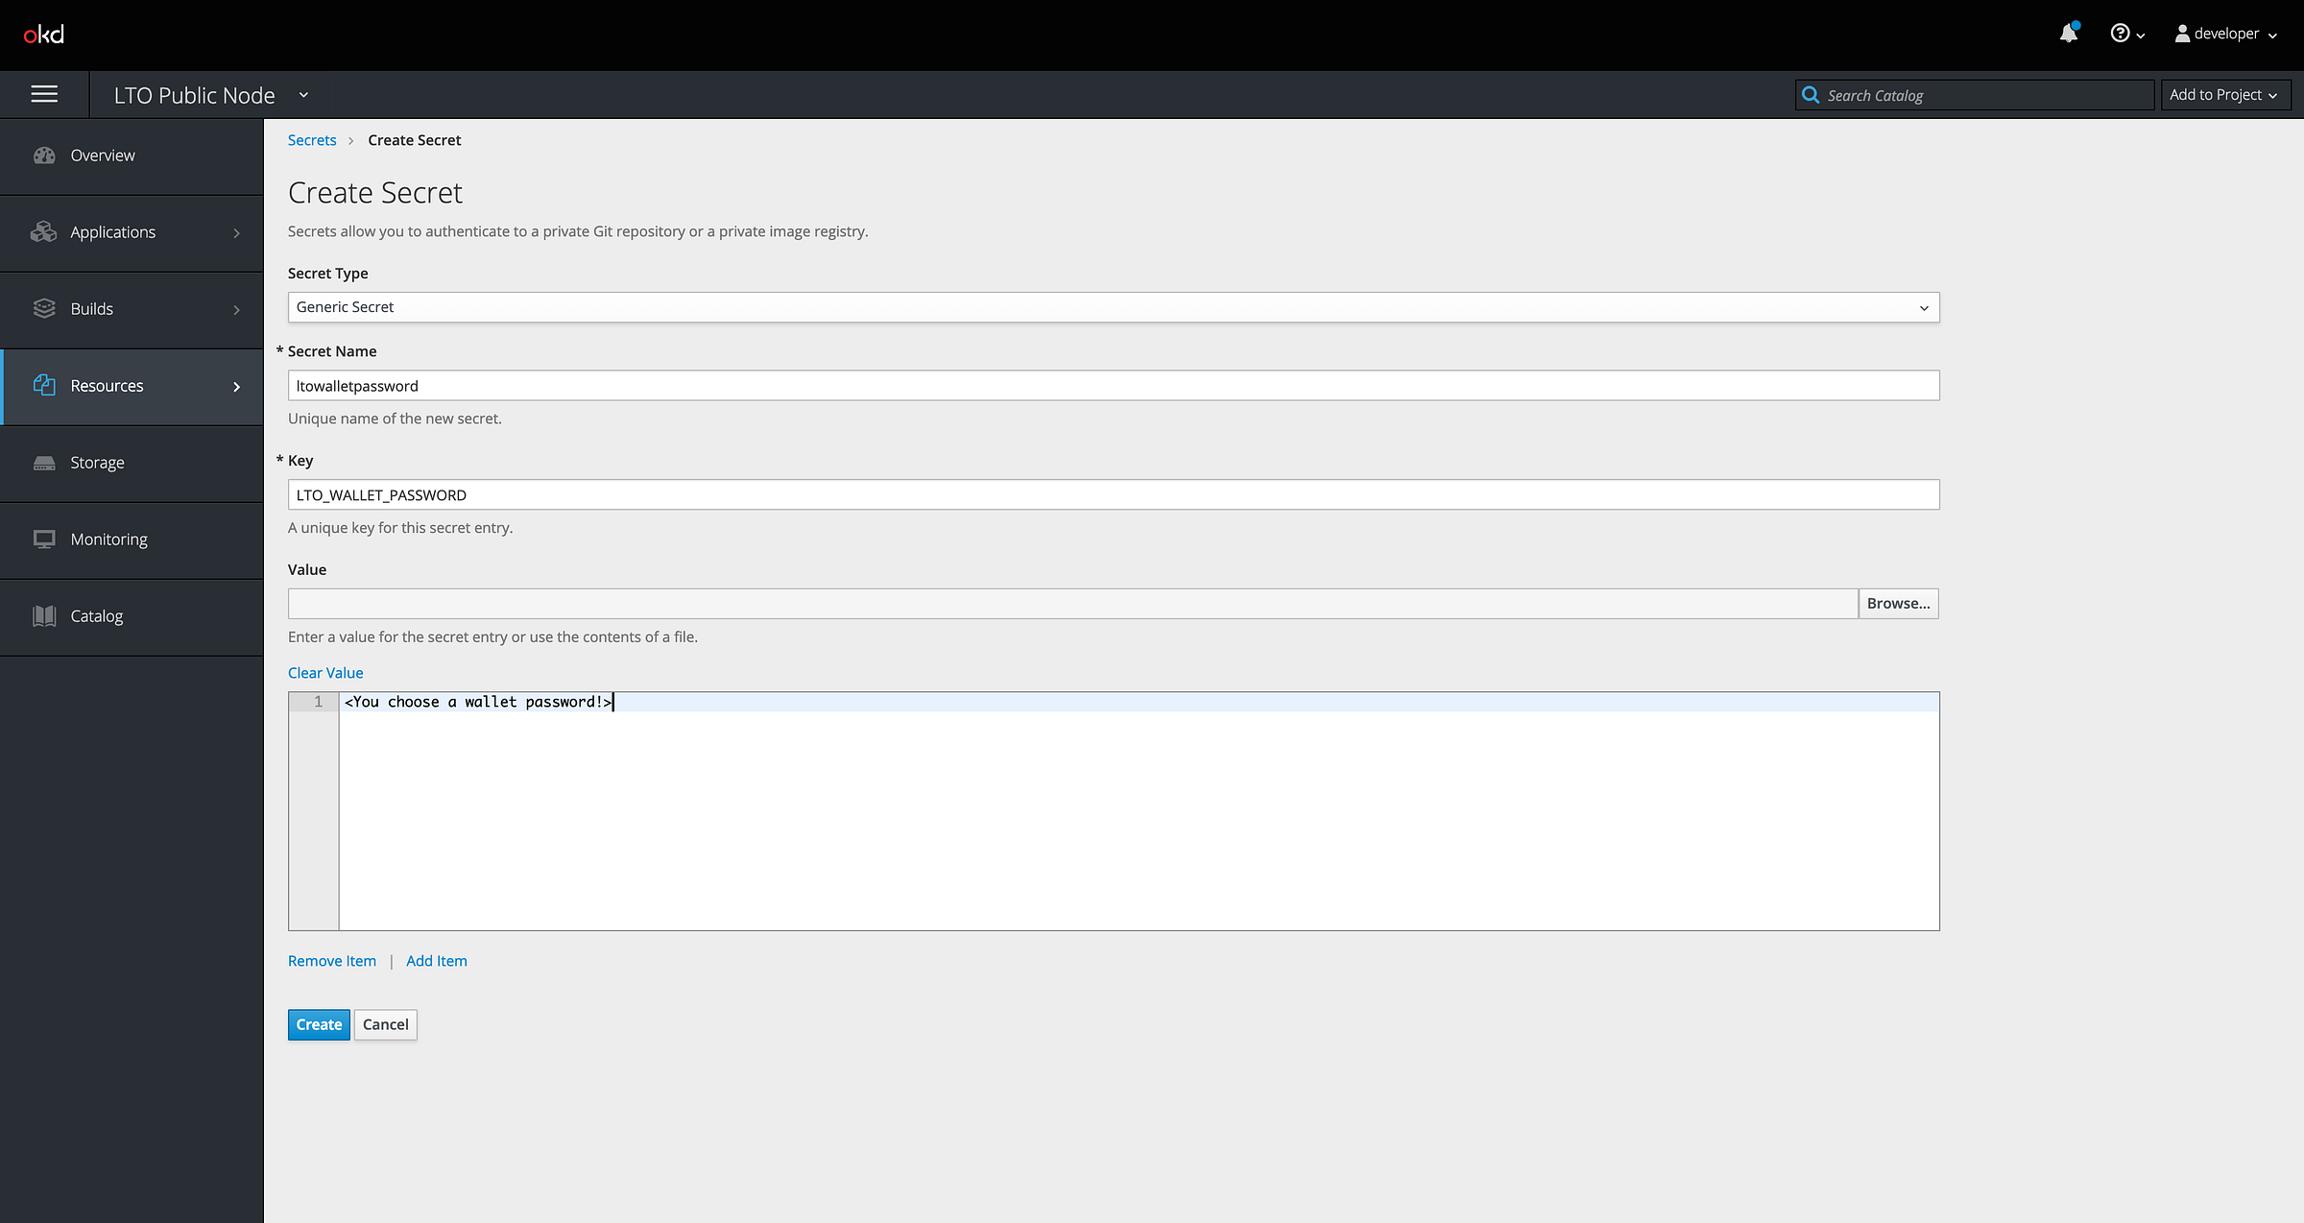
In this Proof of Concept 3 generic secrets were created and later on used in the configuration of the deployment configuration.
Next step is to actually configure and deploy our image. Let’s Go!
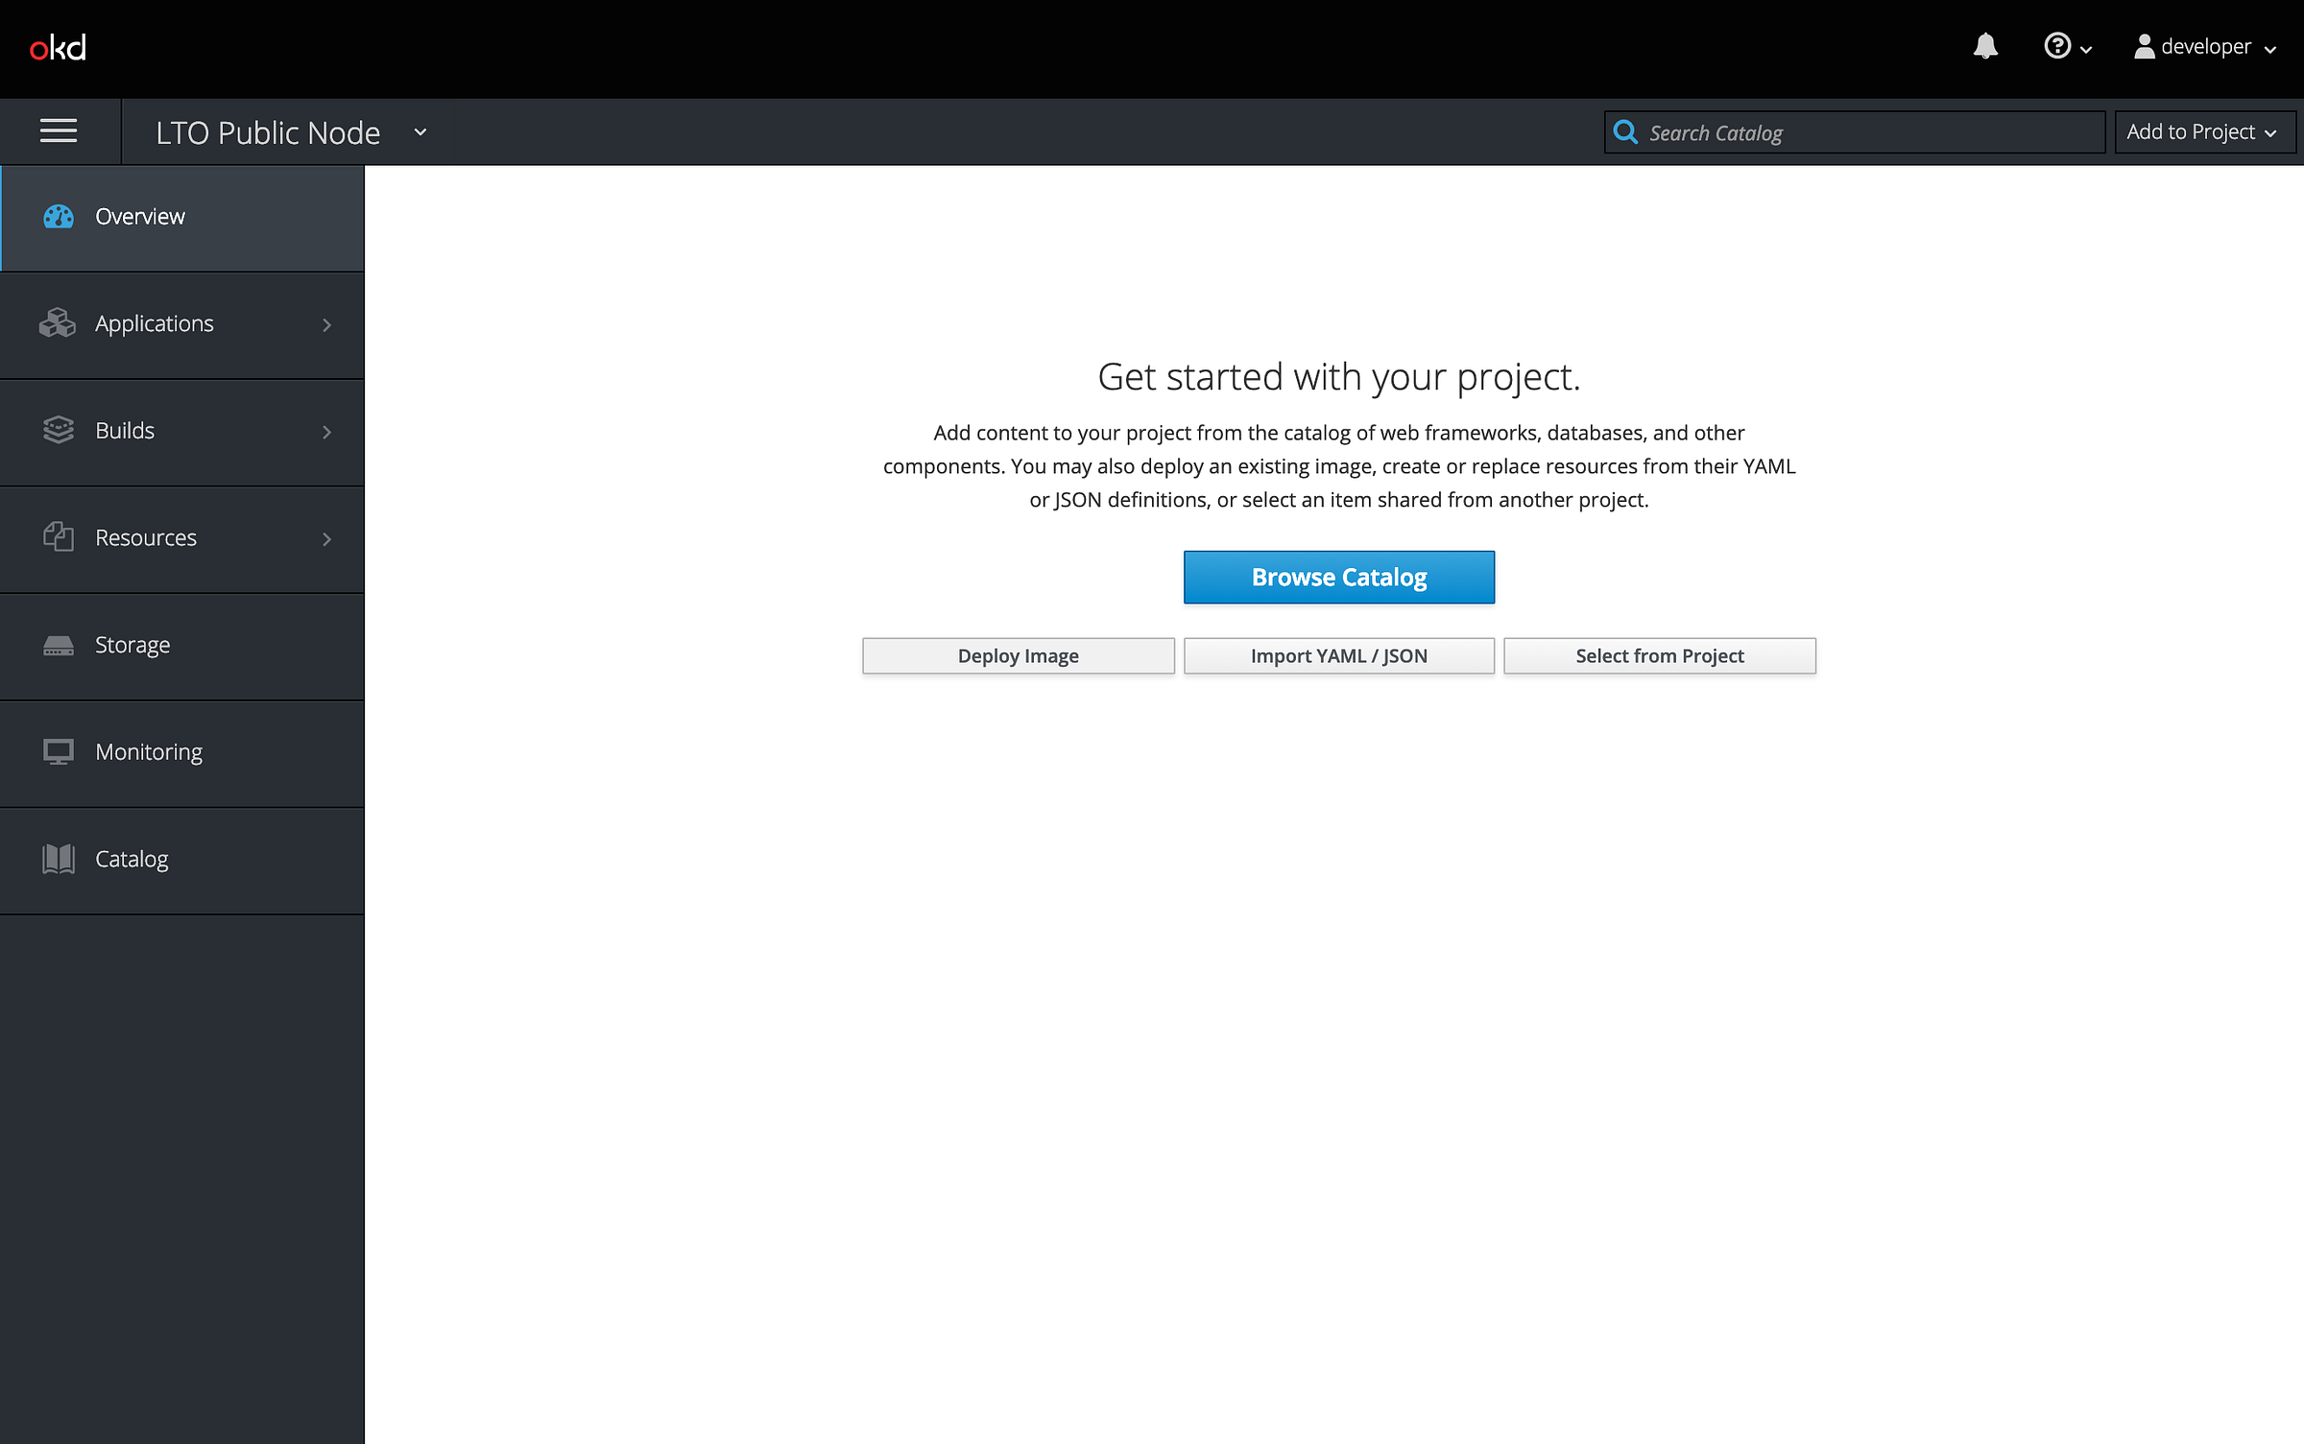
With the project setup, we can start deploying our first image. Click on Deploy Image. The Image refers to the container image we’re going to deploy.

LTO Network currently uses a public Docker repository to store their container images. The Image name is called: ltonetwork/public-node. Enter this name in the Image Name field and click on the search icon to lookup the image in the repository.
The system will give you a warning that the image will be running as root. This might be an issue in some production environments. It’s expected that this will be changed at some point in time.
Now scroll down for the next steps where we’ll configure the node.
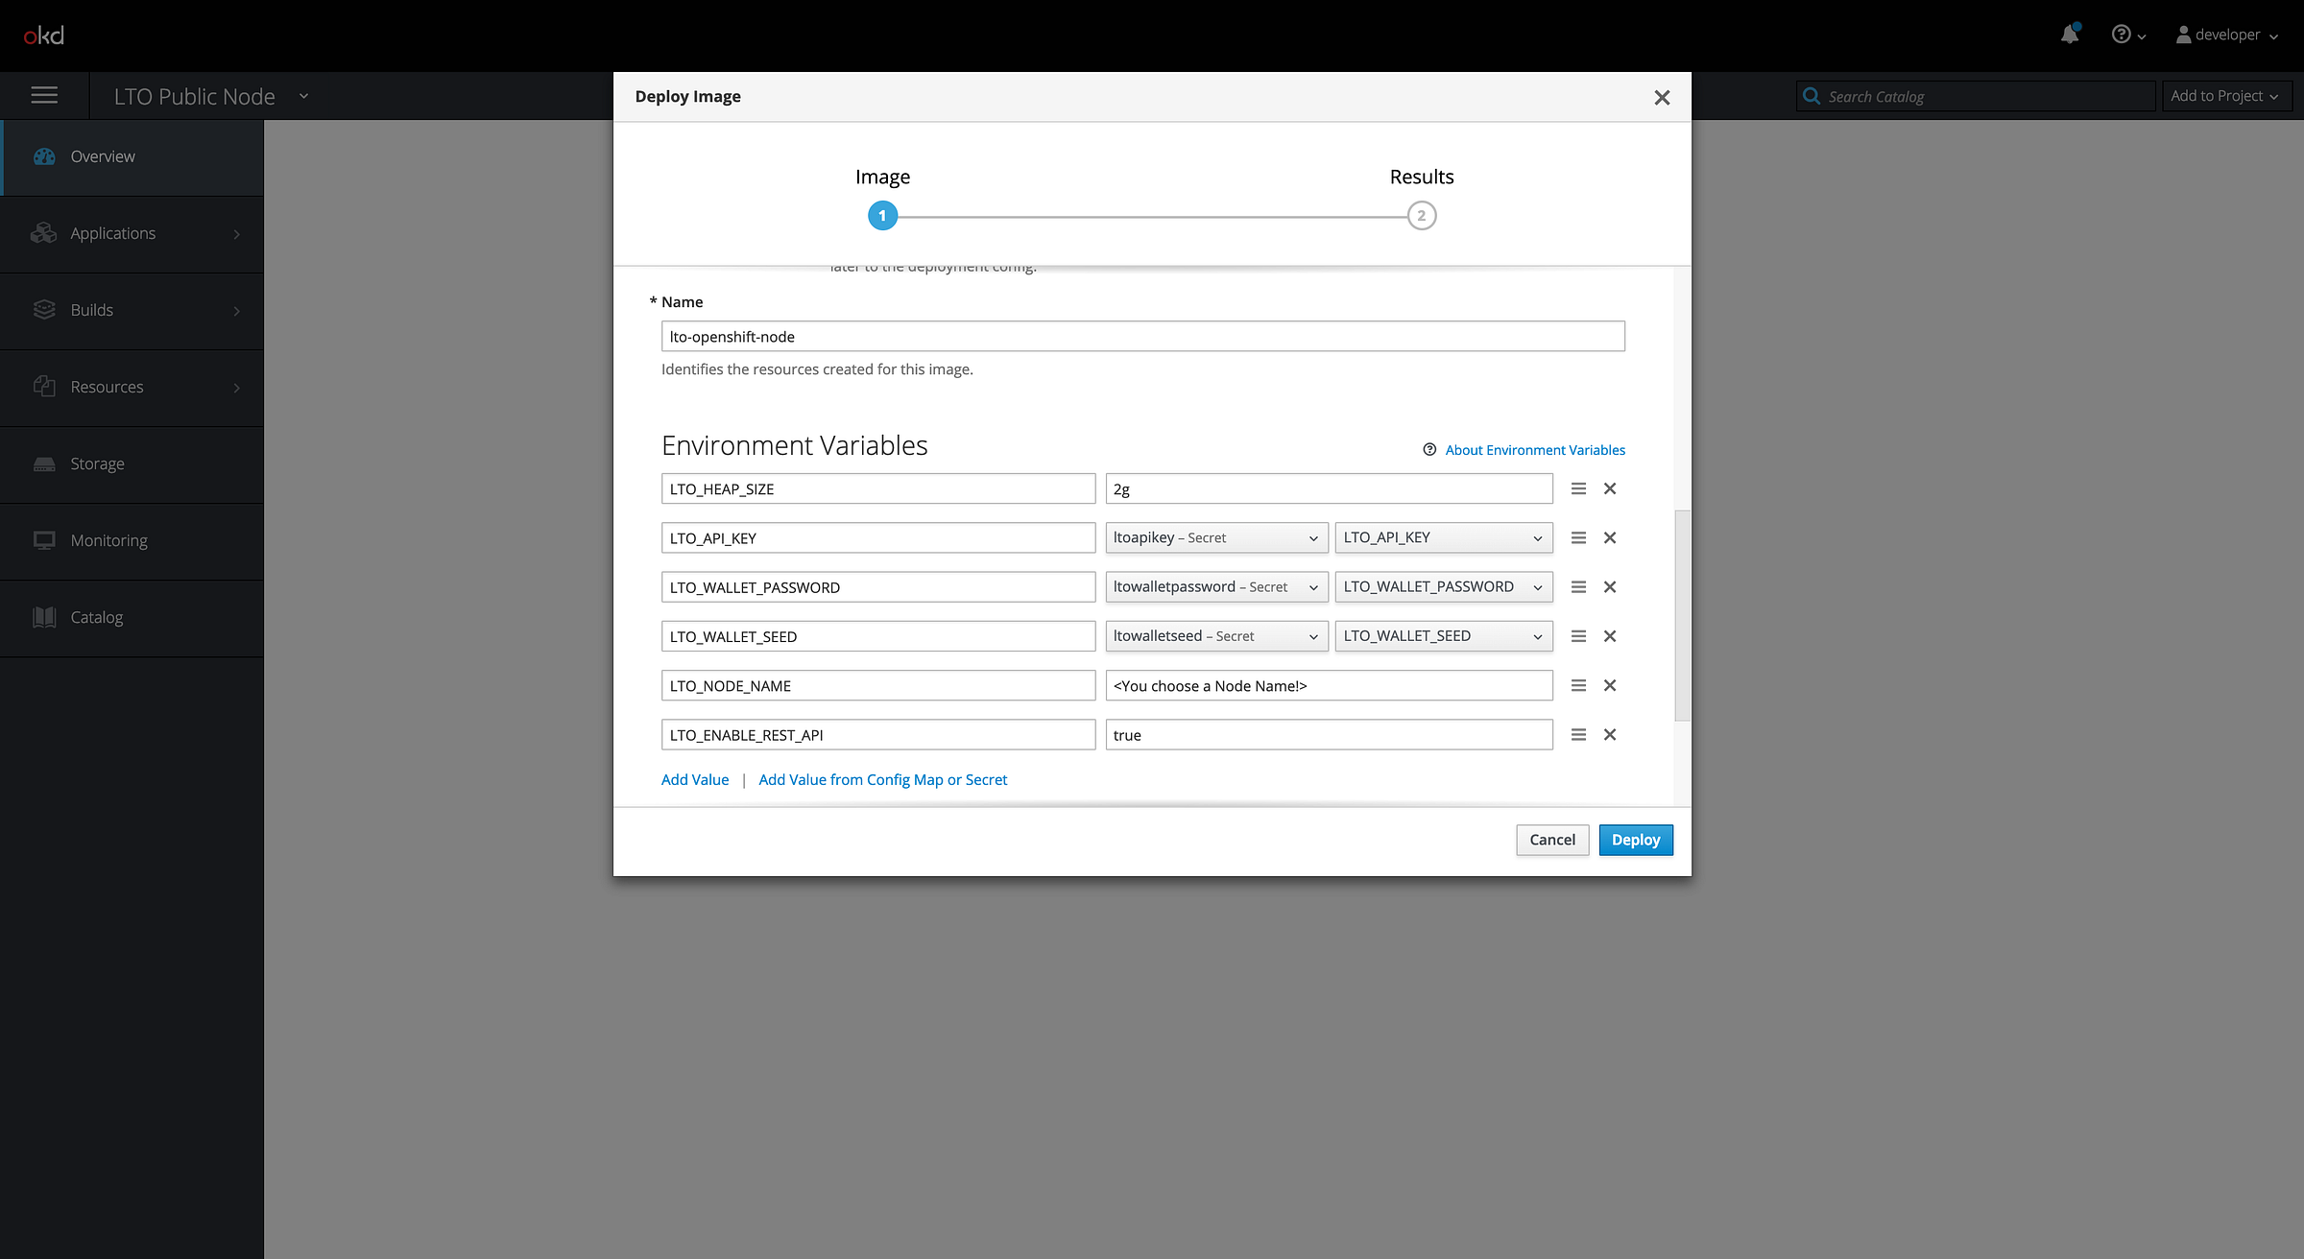
In this step you actually configure your node. We use the Add Value link to add “normal” environment variables. We use Add Value from Config Map or Secret to configure environment variables from the secrets we created earlier.
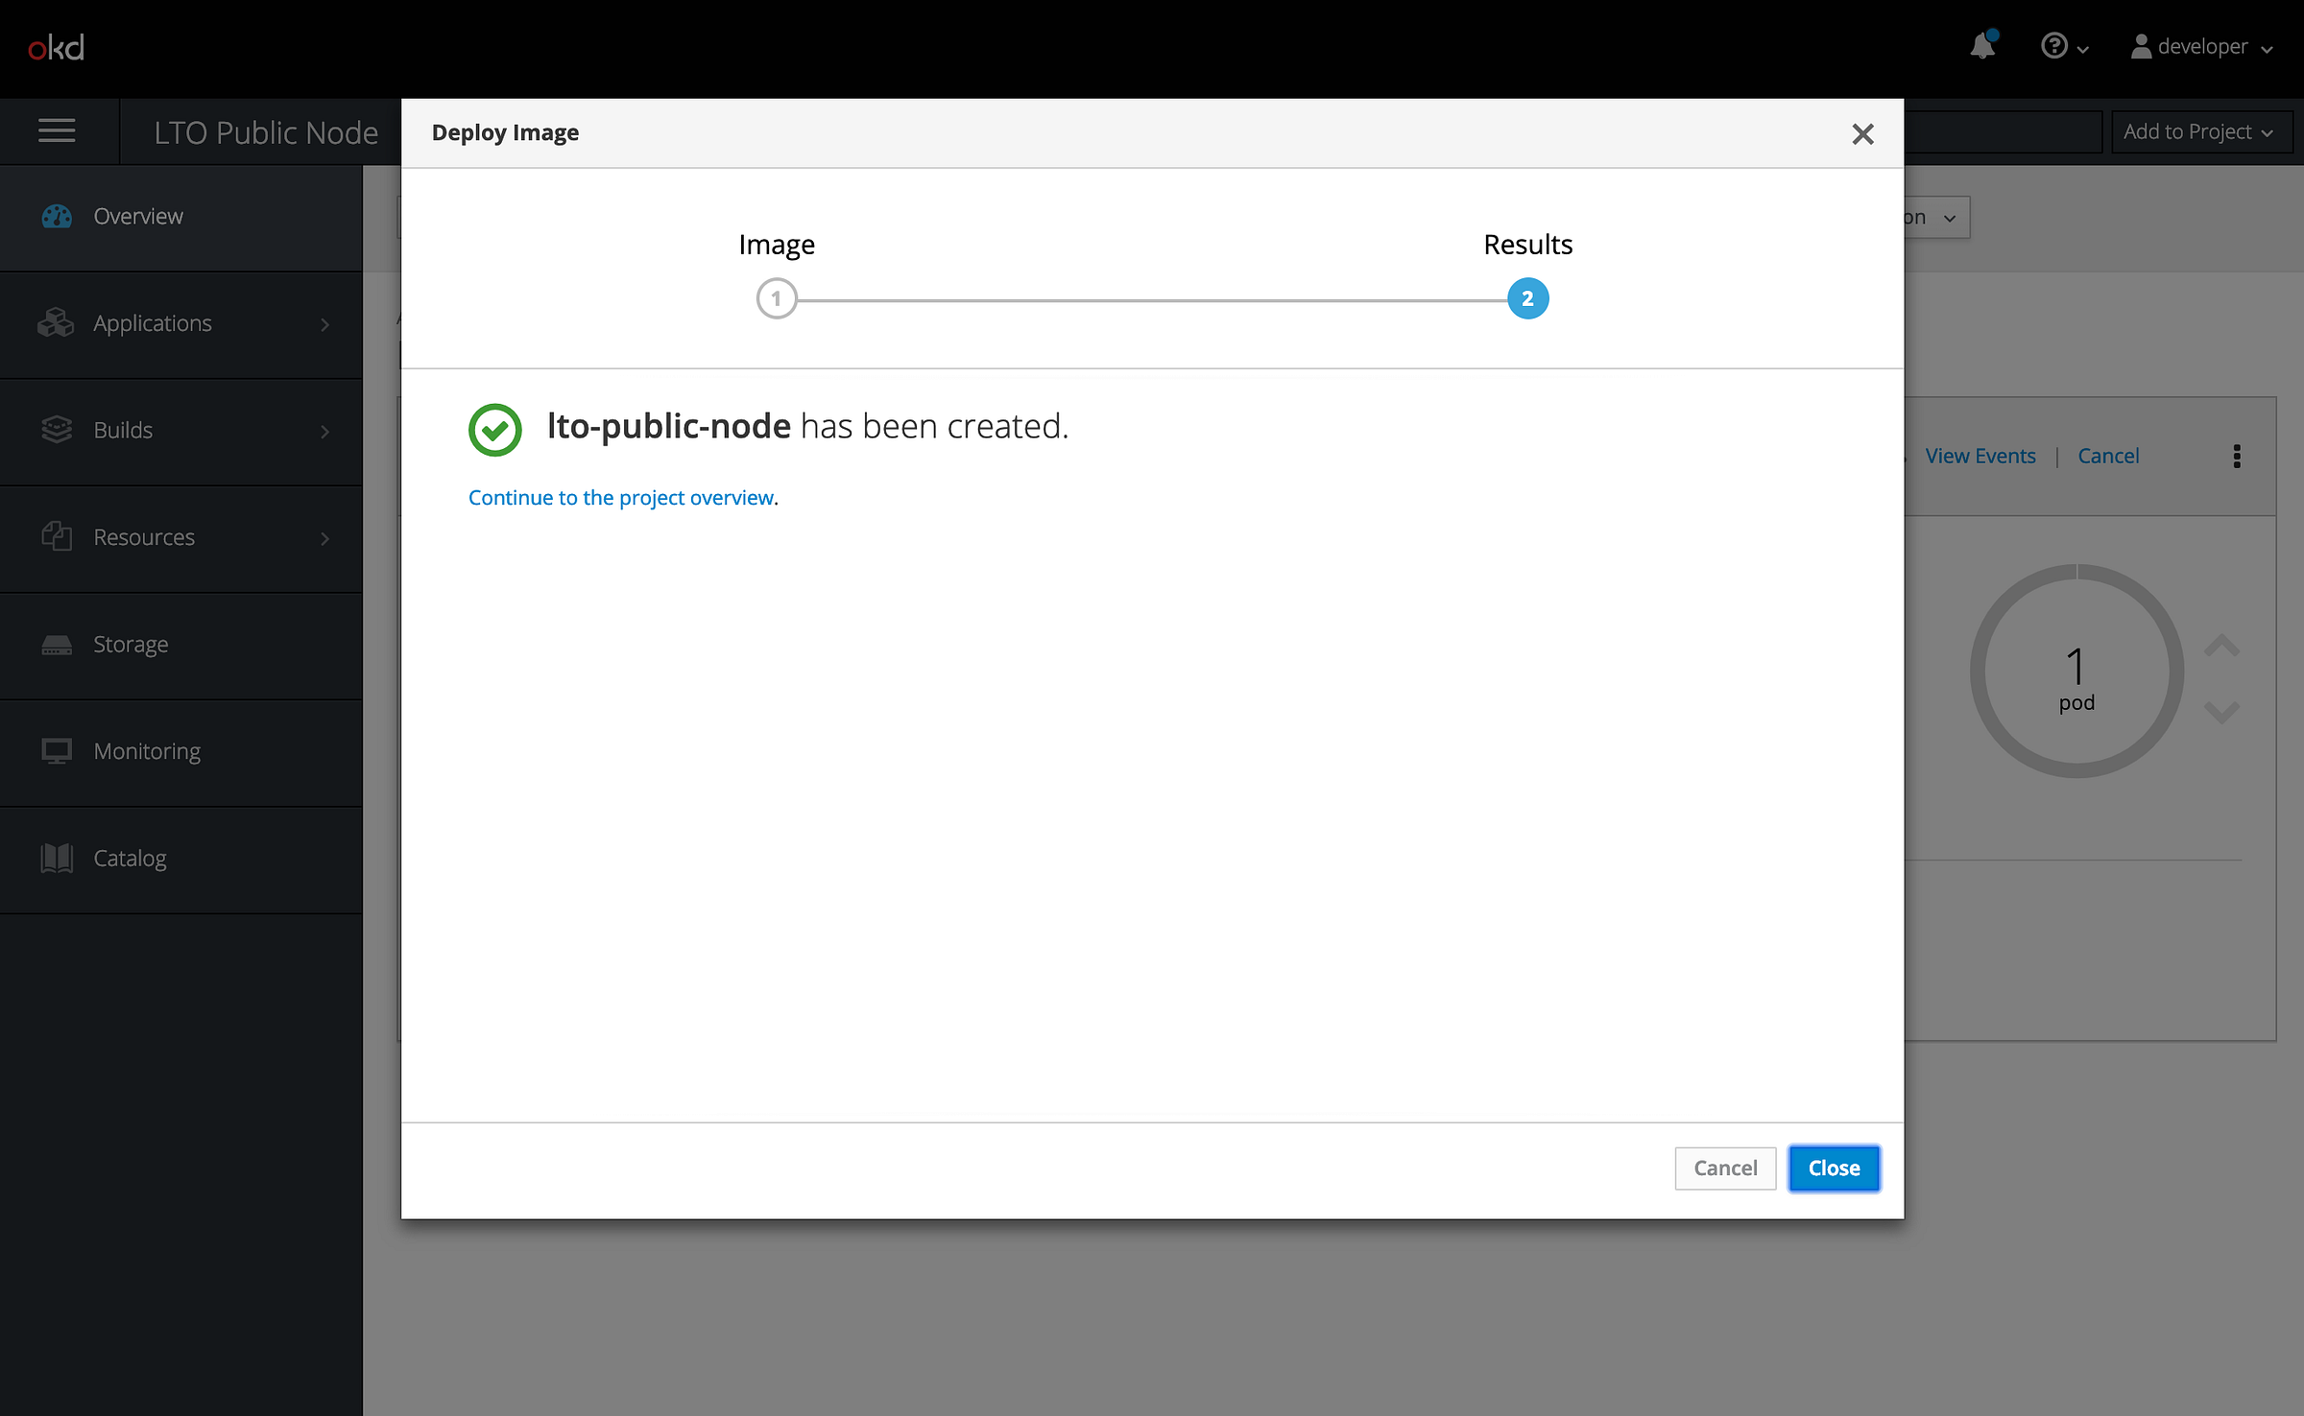
After configuring a name (optional) and setting our environmental variables (all optional as well) we’re ready to deploy our node. Click Deploy.

Going back to the project overview screen we can see the Deployment config of our application. A Rolling deployment might already be running. This means the system is pulling the container image from the registry and will start deploying it. You can force a deployment by clicking the 3-dots on the far left and selecting Deploy from the dropdown menu.
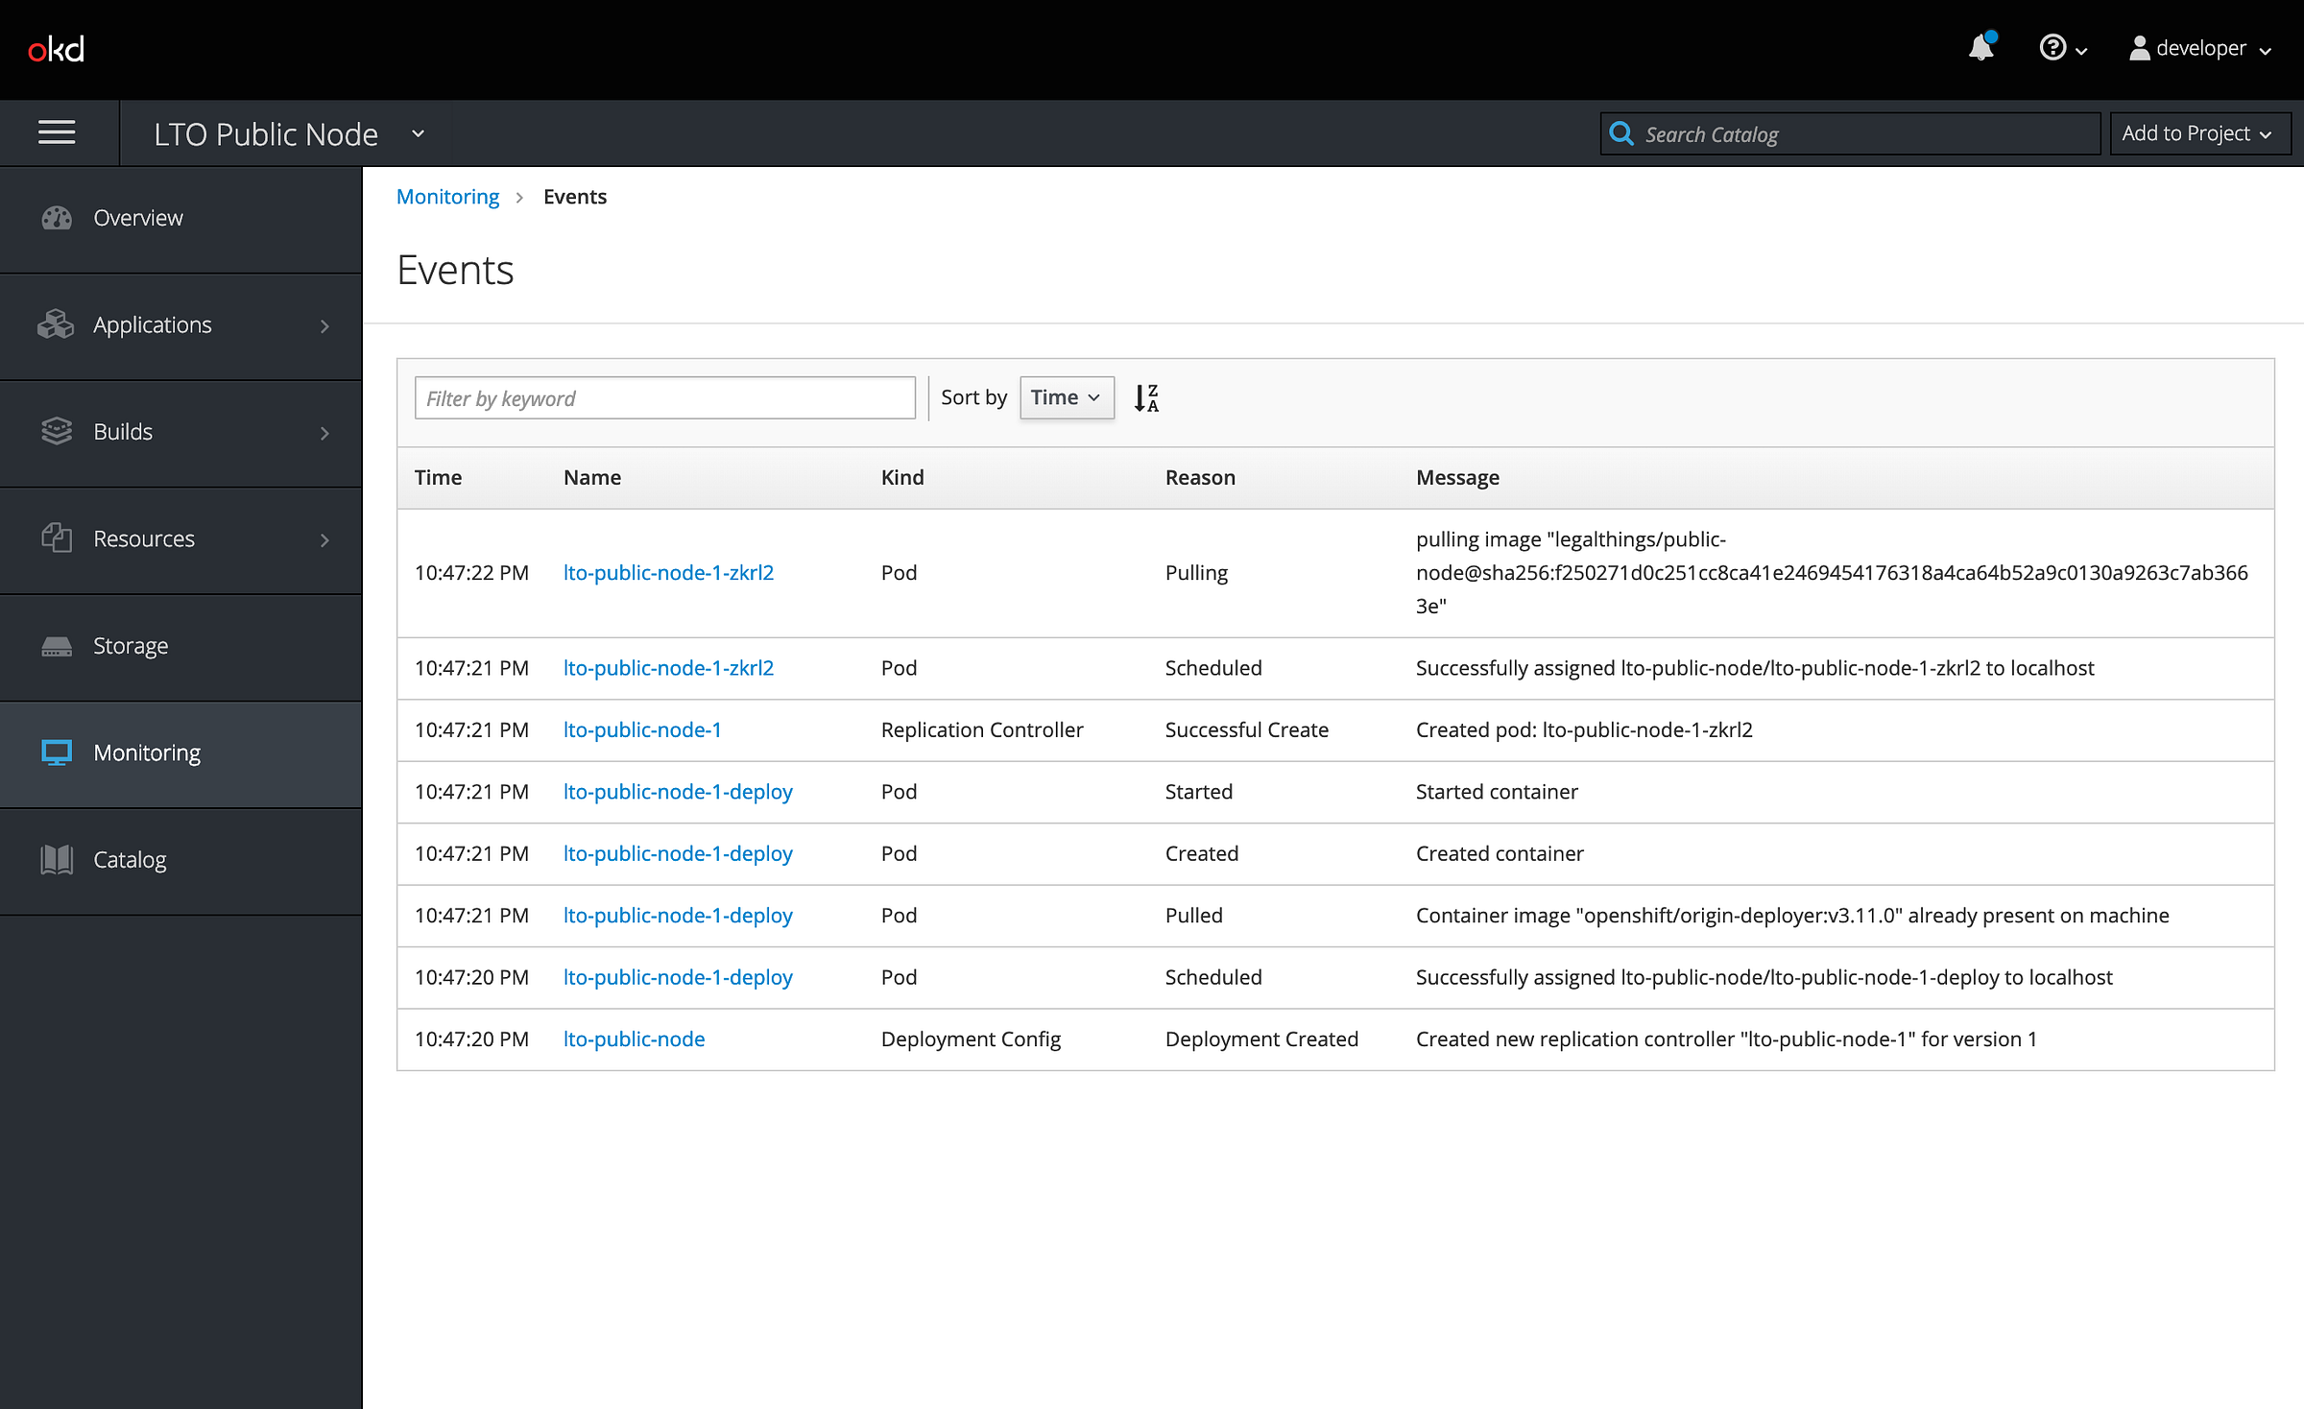
In the above screenshot you can see the Events of the rolling deployment. You can see the public node image being pulled from the registry. After a pull the system will deploy the new container image with the environment variables and other configuration items as specified.

Back in the project overview we can see the successfully deployed LTO Network public node.
Please note that it says that if we want “Routes — External Traffic” we should create a route. We’ll do this later so we can demonstrate how to access the API.
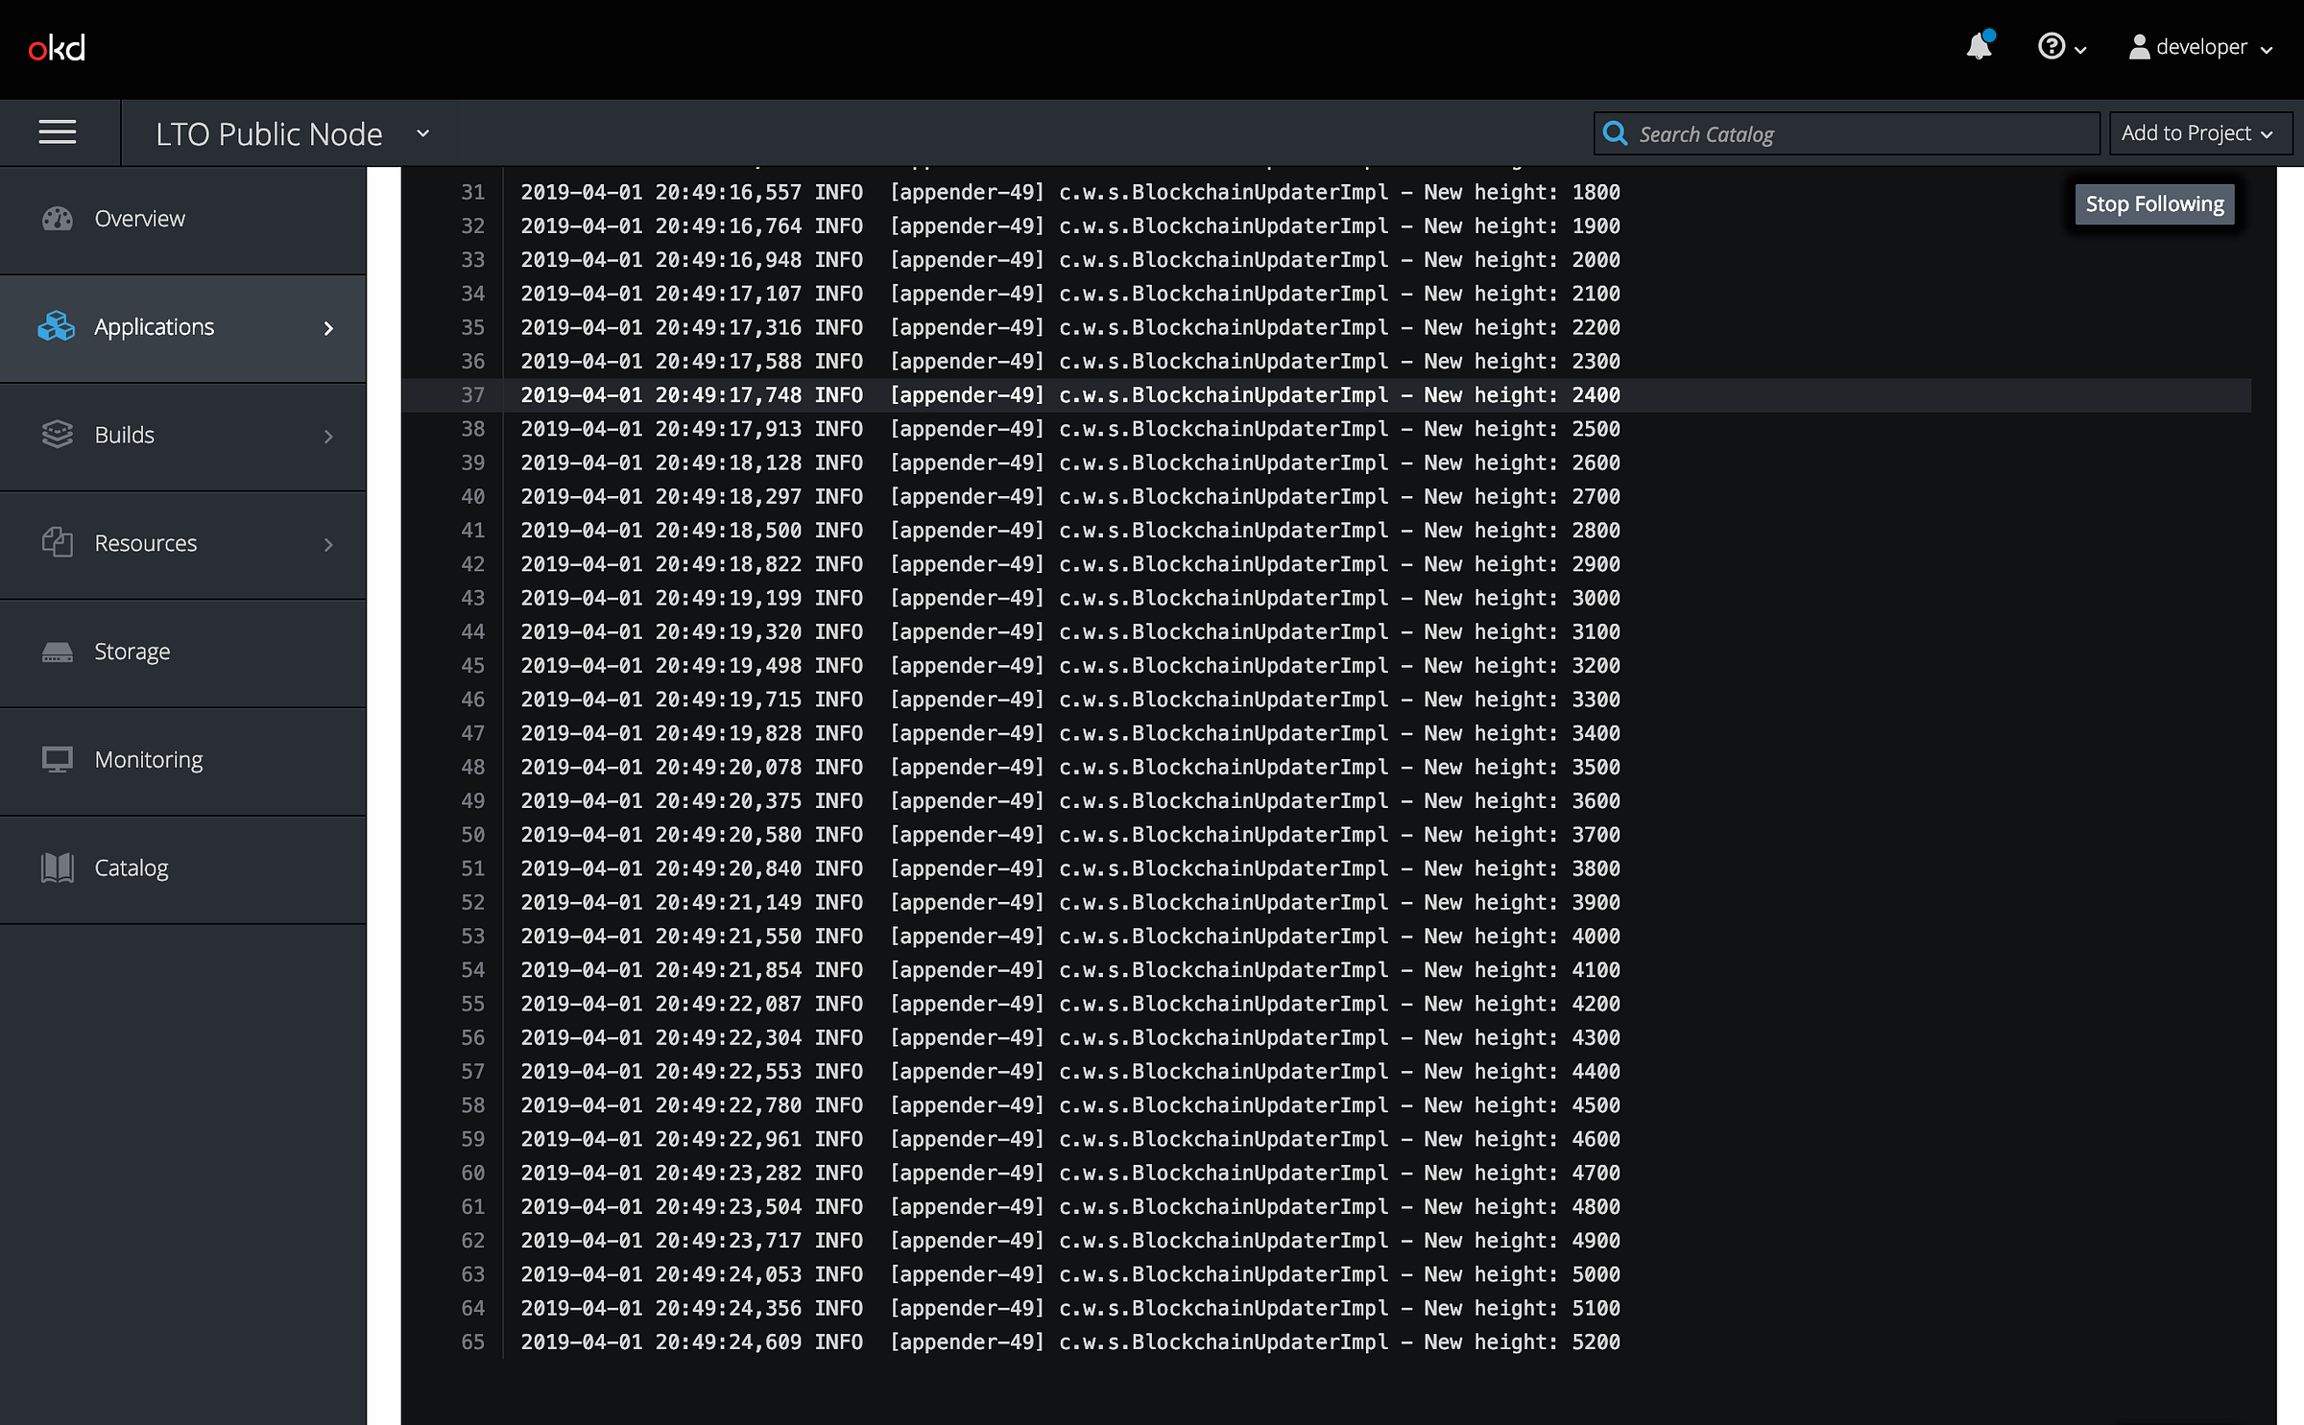
By clicking the blue circle with the “1 pod” in it we enter the pods configuration. In this next screen you can click on Log to get access to the output of the container image. During the first few minutes of deployment the node will be downloading the Blockchain. This will look something like in the above screenshot.

So, we decided to expose the API to the outside world. Important is that you enabled the API using the environment variable in an earlier step (LTO_ENABLE_REST_API = true). External traffic routed in OKD is done using the routing layer. Your service will be behind a load balancer (part of OKD) when you expose it.
To expose the service to the outside world we click on the Create Route link. This opens the configuration screen.
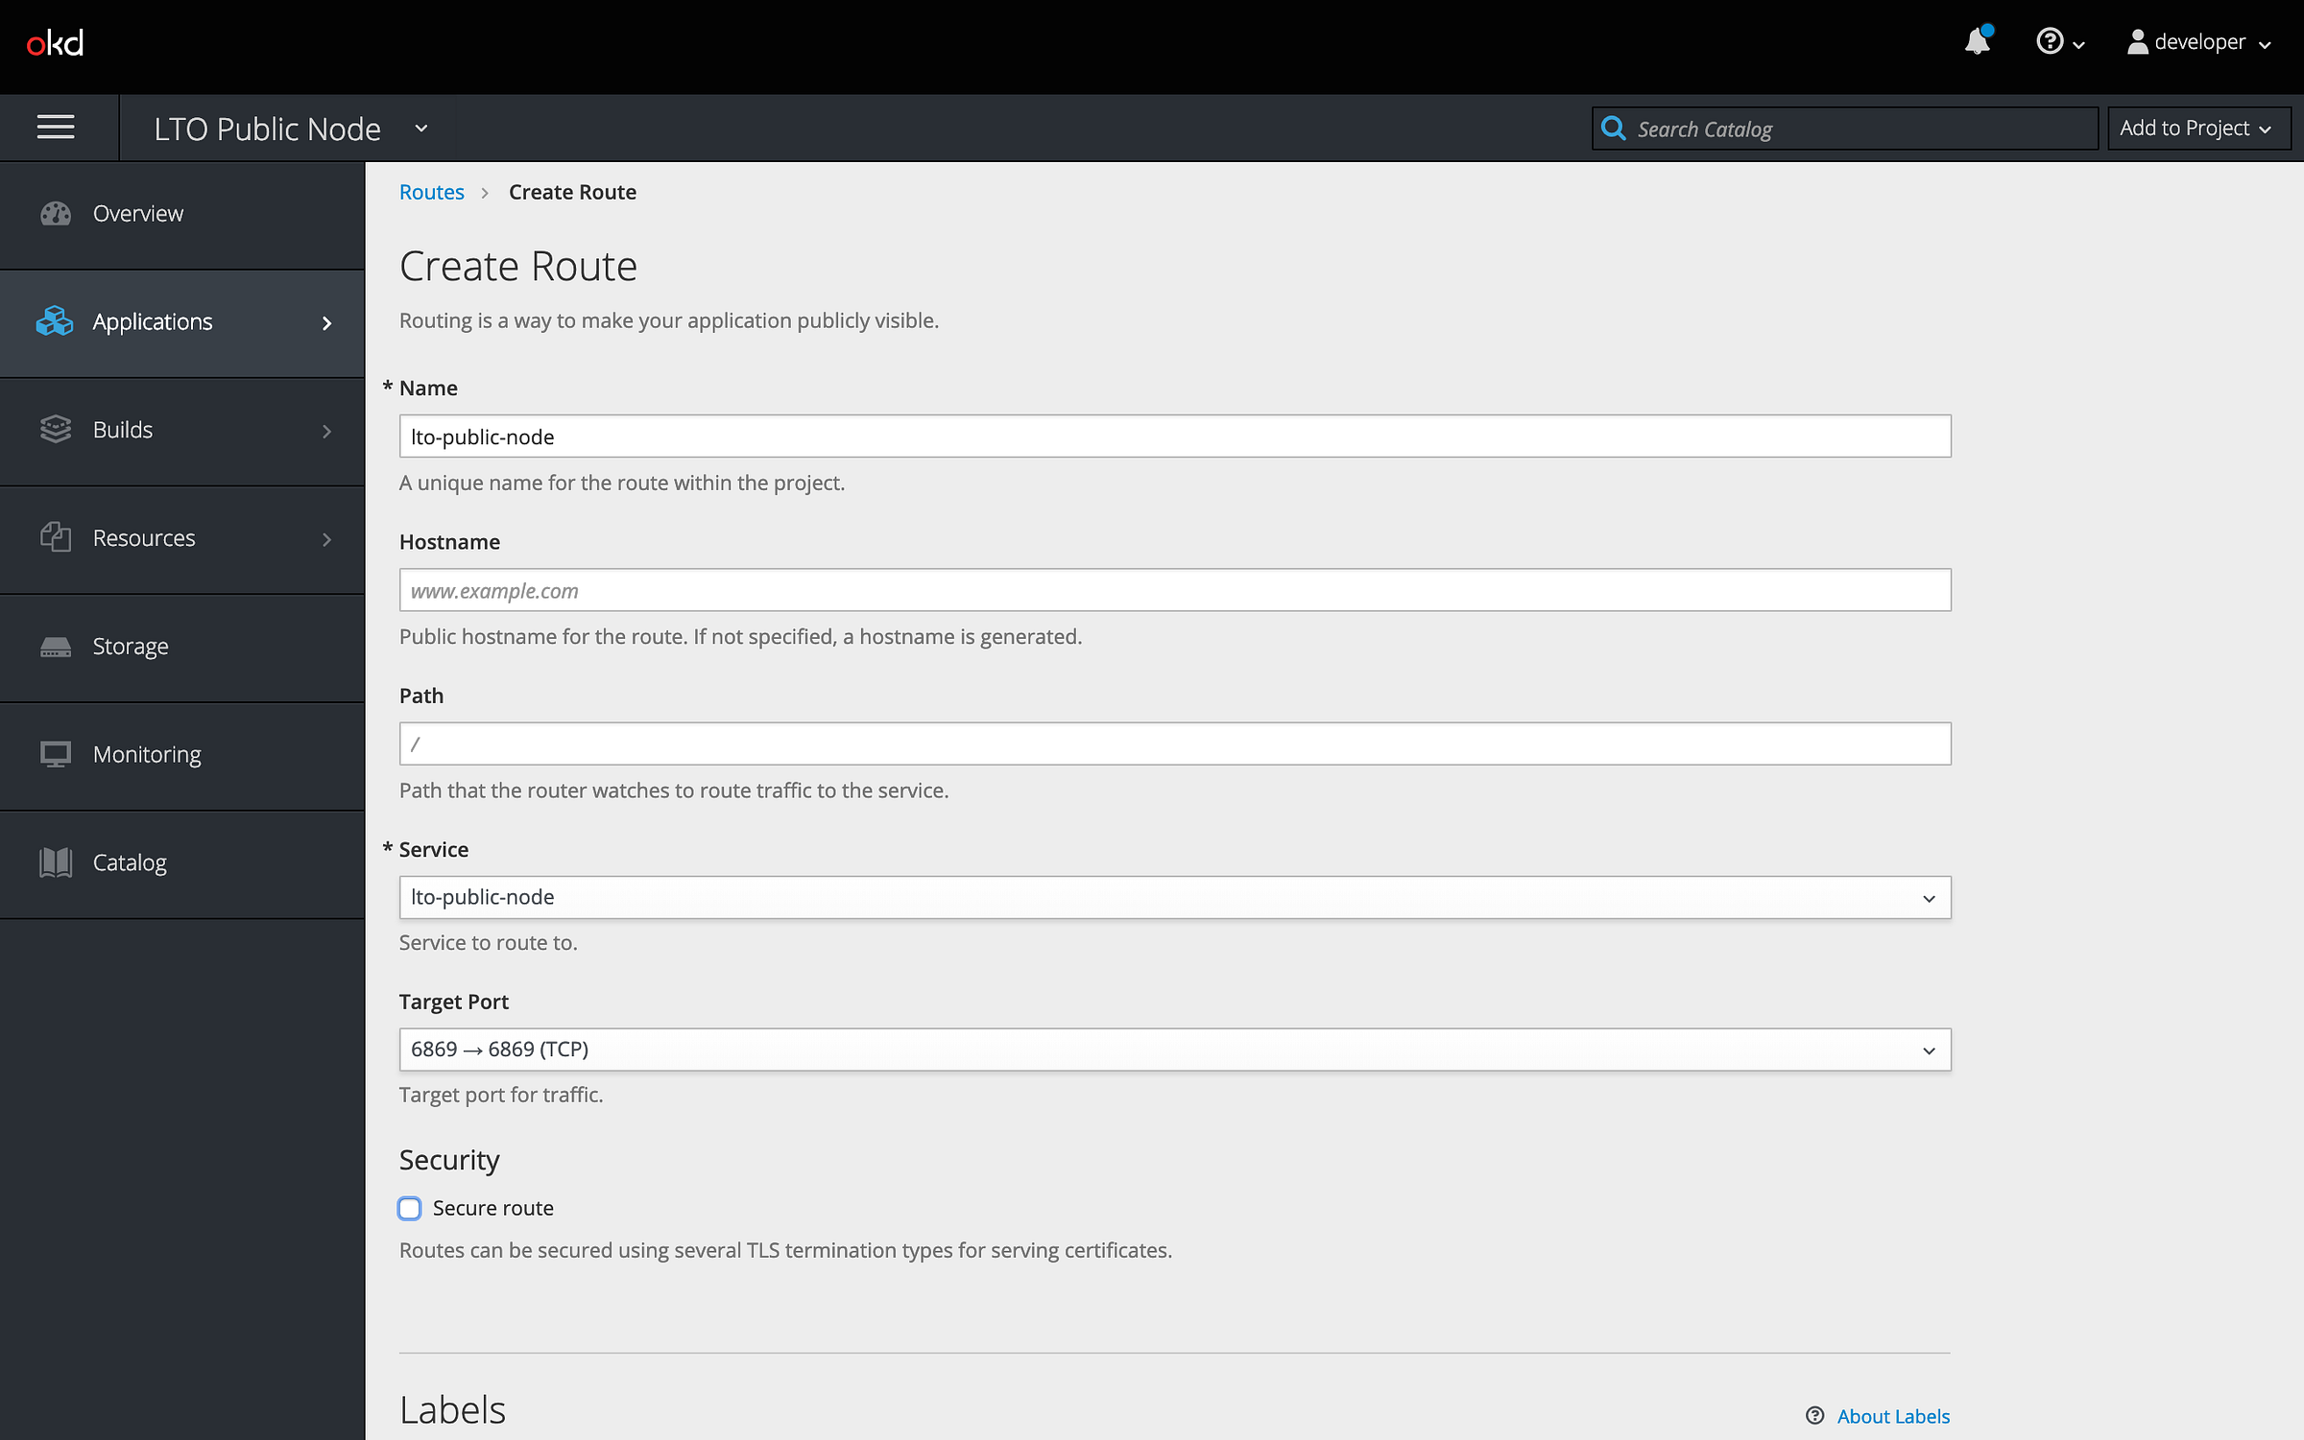
Not a lot you need to change here. You can of course choose to make it a secure route. The LTO node exposes the API over HTTP. With this, you can make it HTTPS. Make sure to select 6869 → 6869 (TCP) as your Target Port. Scroll down and click the route creation button to create the route and expose your Swagger UI.

You created your route and your API is now accessible to the outside world. In the above example, a non-secure route was created. You can simply access the API webpage by clicking the URL displayed.
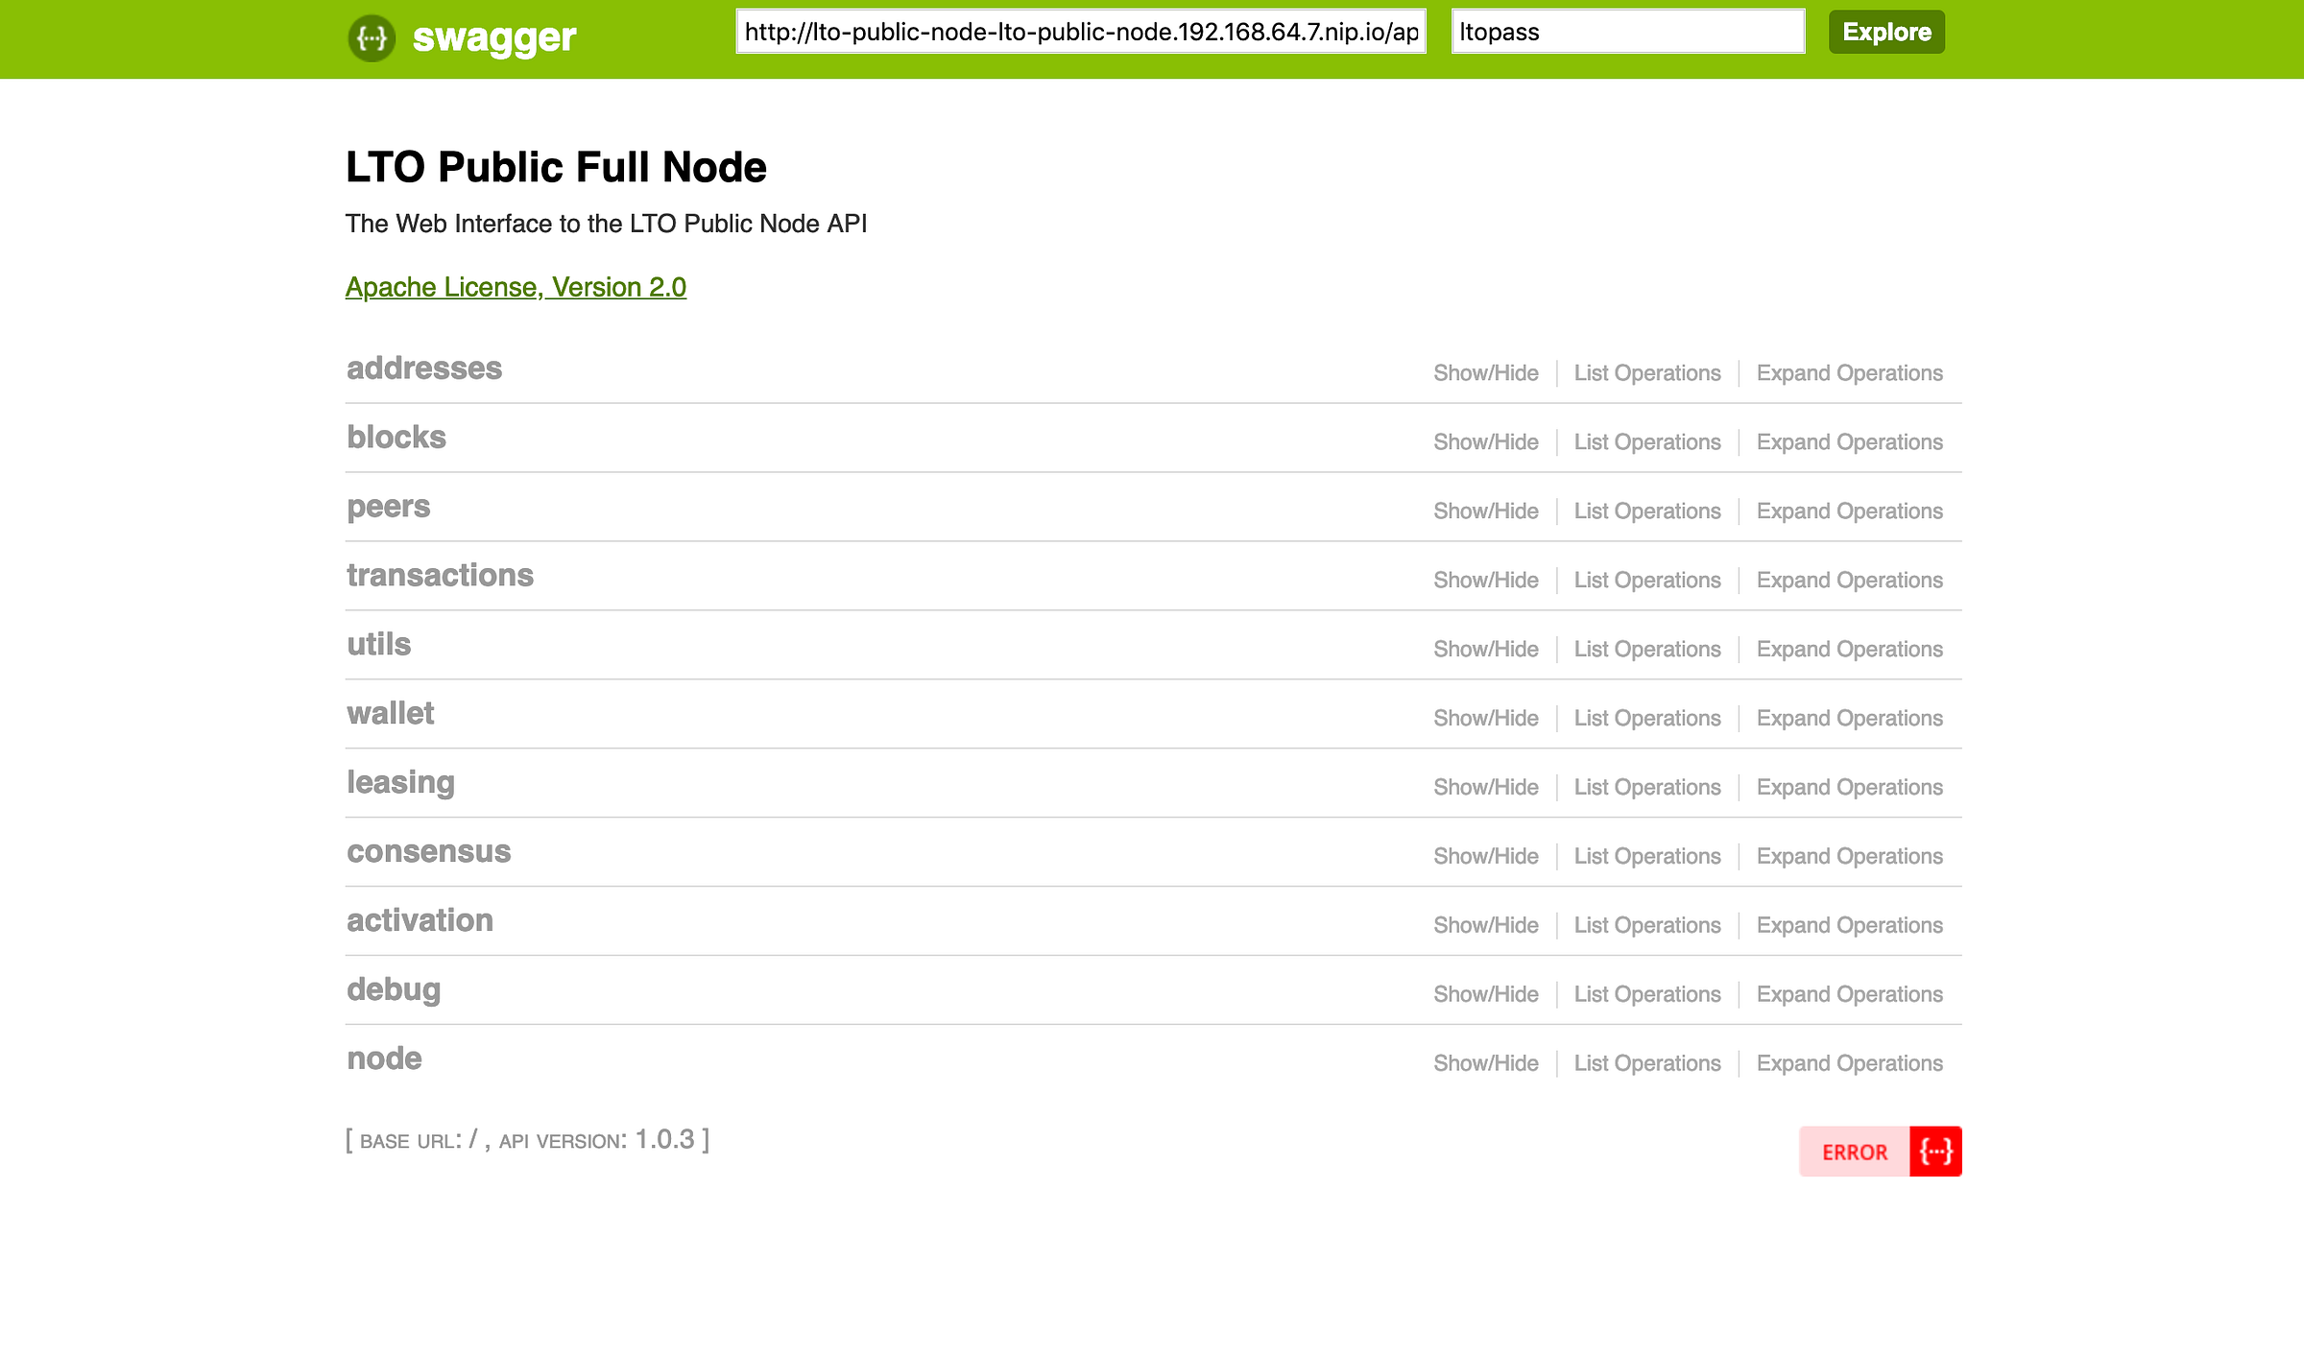
That’s it. You’ve successfully mastered setting up an LTO Network public node on the OKD Kubernetes platform. Awesome!
Step 2: Wait for a 1.000 blocks
You can find the LTO Network Explorer at https://explorer.lto.network. It shows you the blocks generated, by who, when, how big they are, and how many transactions are in the block.
After launching your node check the Explorer to see the number of the last block. Wait till another 1.000 blocks are generated and expect your node to be part of the LTO Network.
Utilize the available Community Tech Tools to get more insights into the network and your participation. Let's build a secure and useful network together!
Depending on your stake (the number of LTO tokens you have in the “2nd wallet”) it will take more or less time for you to start earning LTO. Be patient and be happy. Welcome to the amazing LTO Network community! Read more about community programs.
Last updated